-
Login to Okta Developer.
-
From the sidebar click Applications > Applications.
-
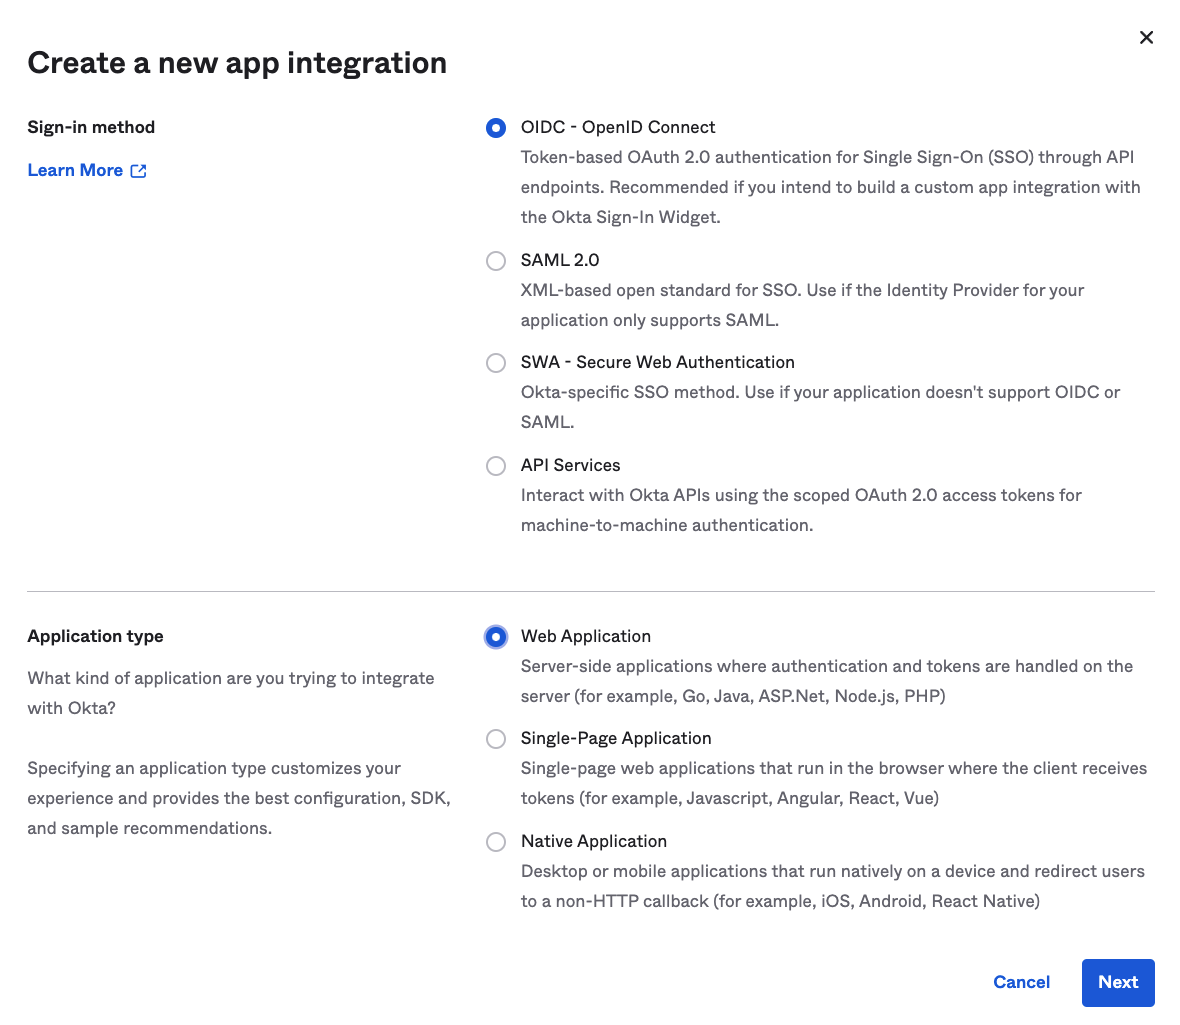
From the Applications page click “Create App Integration“.
-
Choose “OIDC - OpenID Connect“ as the Sign-in method, “Web Application“ as Application type.
-
Click “Next”.
-
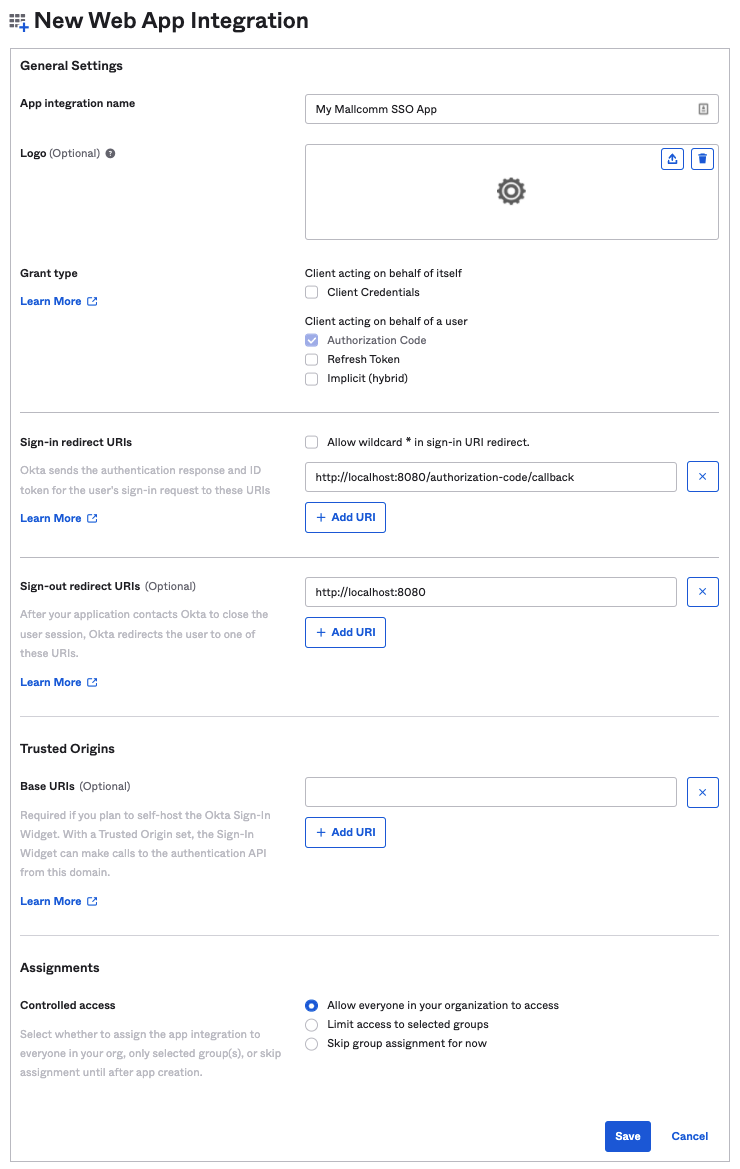
Under “General Settings“ provide a “App integration name“
-
Under “Assignments“ choose an appropriate “Controlled access“ for your organisation. Choose “Skip group assignment for now“ to set at a later date.
-
Click “Save“.
-
Once saved you should have access to the Client ID, Client secret and Okta domain. Please provide these to the Mallcomm Team to setup your app as an integration.
-
Once the integration is complete on the Mallcomm server we will provide the correct Sign-in redirect URIs and Sign-out redirect URIs to update in the “LOGIN“ section under “General Settings“ for your application (shown above).
-
This completes your integration with Mallcomm SSO.
Additional Assets
|
Name |
Requirements |
Where it’s used |
|---|---|---|
|
Logo |
|
At the top of the bespoke Auth Service login screen. |
|
Icon |
|
On the buttons towards the bottom of the bespoke Auth Service login screen. |
|
Brand Colour |
|
Throughout the bespoke Auth Service login screen. |
|
Email Domain Patterns |
A list of domain patterns that enforces a user to sign in with a companies Active Directory e.g. (.*)@toolboxgroup.global. |
When redirected to our auth service if a pattern matches you are taken to the bespoke page rather then the standard login. |